How to Build a Lean-To Shed: A Step-by-Step Guide for Beginners
Constructing a lean-to shed provides a practical and relatively straightforward approach to expanding outdoor storage or creating a sheltered workspace. This guide provides a comprehensive, step-by-step process for beginners, emphasizing safety and precision at each stage. While adapting the design to individual needs is encouraged, this guide outlines a standard lean-to shed construction.
Phase 1: Planning and Preparation
1.1 Site Selection and Design Considerations
The success of your lean-to shed hinges on careful site selection. Consider factors such as:
- Accessibility: Ensure easy access for materials delivery and future use.
- Ground Conditions: Level ground is ideal; significant slopes require extra excavation and leveling.
- Sunlight and Shade: Determine the desired amount of sunlight and shade for the shed’s intended purpose.
- Proximity to Utilities: Avoid placing the shed near power lines, underground utilities, or drainage systems.
- Local Regulations: Check for any building permits or zoning regulations that may apply in your area.
Once the site is selected, create a detailed design. This should include:
- Dimensions: Determine the desired length, width, and height of the shed.
- Materials List: Create a comprehensive list of all necessary materials, including lumber, fasteners, roofing materials, and any additional features (e.g., doors, windows).
- Foundation Plan: Decide on the type of foundation (concrete slab, gravel base, etc.).
- Roof Pitch: Determine the angle of the roof, considering local weather conditions.
1.2 Gathering Tools and Materials
Before commencing construction, assemble the necessary tools and materials. This list is not exhaustive and may vary based on your specific design and chosen materials:
- Measuring Tape: Essential for accurate measurements throughout the project.
- Level: Crucial for ensuring level foundations and walls.
- Shovel/Post Hole Digger: For excavating the foundation.
- Hammer: For driving nails and other fasteners.
- Circular Saw or Hand Saw: For cutting lumber.
- Drill with various Drill Bits: For pre-drilling holes and fastening screws.
- Safety Glasses and Gloves: Always prioritize personal safety.
- Post Supports/Concrete Mix (if required): For the foundation.
- Pressure-Treated Lumber: For framing and structural components. Consider using naturally rot-resistant timber for a more sustainable approach.
- Roofing Materials: Choose appropriate materials based on your climate and budget (e.g., asphalt shingles, metal roofing).
- Fasteners: Nails, screws, and other appropriate fasteners.
- Building Wrap/Underlayment: To protect the structure from the elements.
Phase 2: Foundation Construction
2.1 Preparing the Ground
Clear the selected area of any debris, vegetation, or loose soil. Level the ground using a shovel or rake, ensuring a flat and stable base for the shed. For larger or heavier sheds, consider compacting the ground to prevent settling.
2.2 Foundation Construction (Example: Gravel Base)
This guide uses a gravel base as an example; alternative foundations such as concrete slabs or pier footings can also be used. For a gravel base:
- Excavate a shallow trench, approximately 4-6 inches deep, matching the shed's perimeter.
- Lay down a layer of landscape fabric to prevent weed growth.
- Fill the trench with compacted gravel, ensuring a level surface. This will provide drainage and a stable base.
Phase 3: Frame Construction
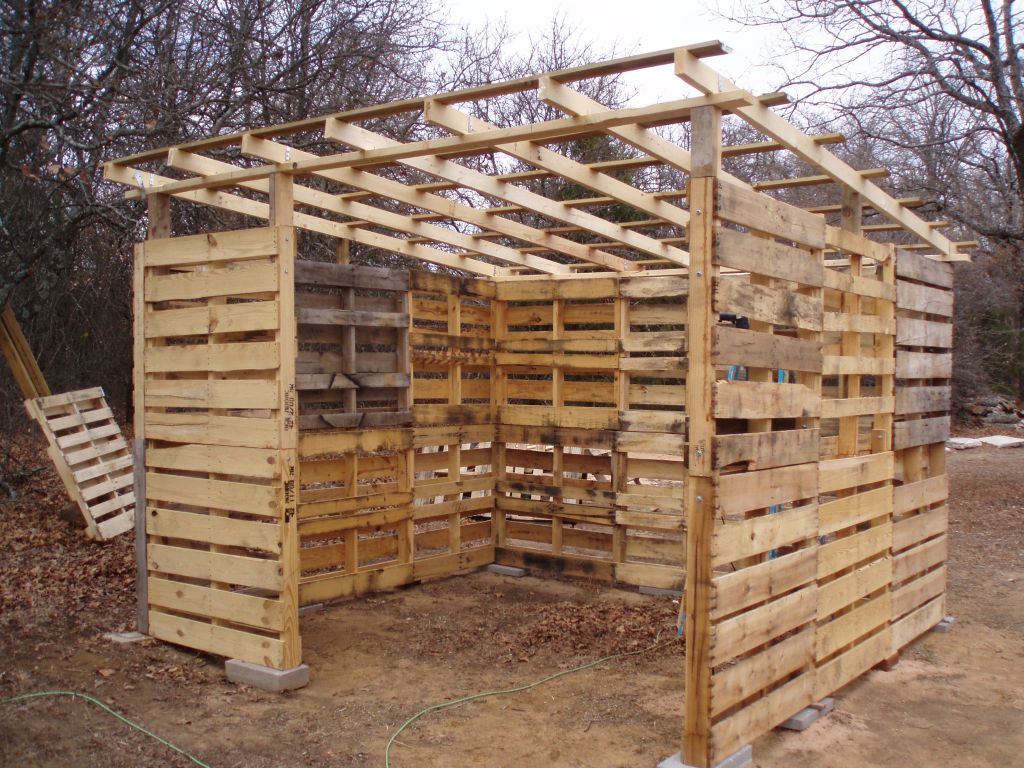
3.1 Building the Frame
Construct the frame using pressure-treated lumber. Cut the lumber to the required lengths based on your design. Use a level to ensure all components are square and plumb. Begin by constructing the base frame, followed by the side and back walls (if applicable). Secure all joints using appropriate fasteners.
3.2 Erecting the Frame
Carefully erect the constructed frame onto the prepared foundation, ensuring it remains plumb and level throughout the process. Use temporary supports as necessary until the frame is firmly secured. This may require assistance from another person to ensure stability.
Phase 4: Roofing
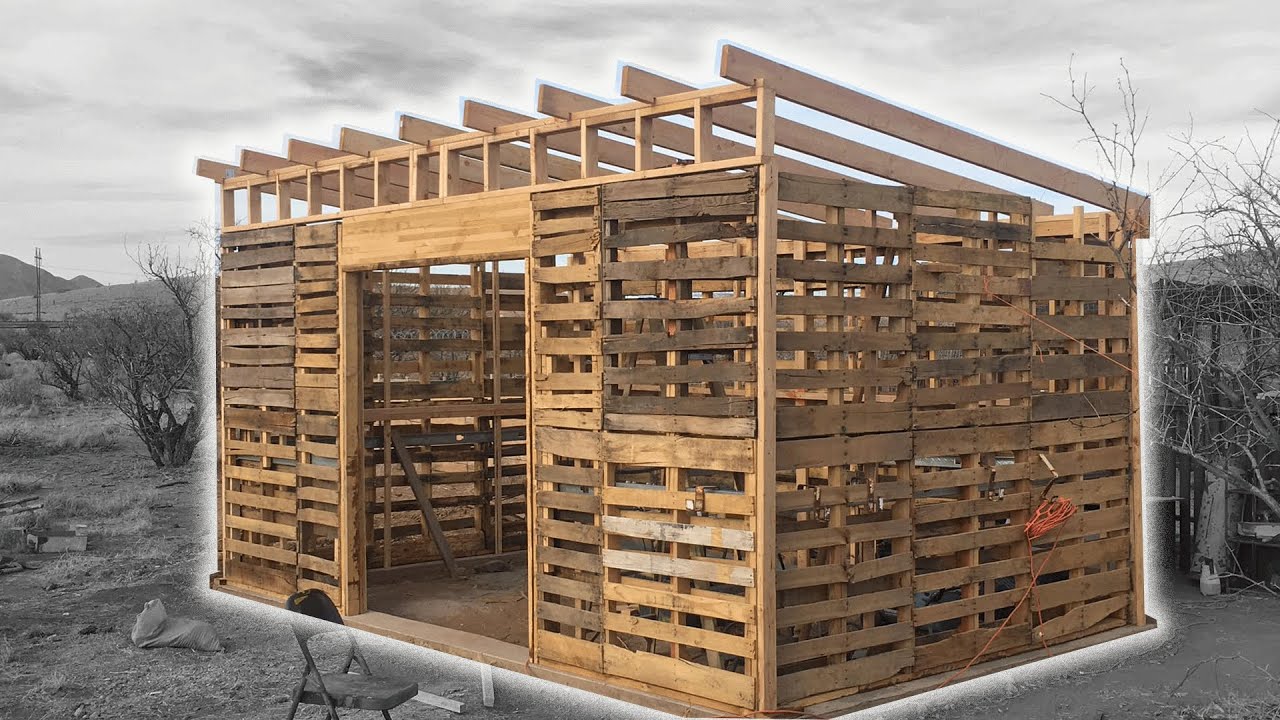
4.1 Roof Framing
Construct the roof framing using lumber, ensuring the rafters are properly spaced and securely attached to the supporting structure. The roof pitch should be sufficient to allow for proper water runoff. The design may involve the use of purlins or ridge beams depending on the size and complexity.
4.2 Roofing Material Installation
Apply building wrap or underlayment over the roof framing to provide additional protection against the elements. Then, install the chosen roofing material according to the manufacturer's instructions. Ensure proper overlap and sealing to prevent leaks.
Phase 5: Finishing Touches
5.1 Adding Doors and Windows
If included in the design, install doors and windows. Ensure proper weather sealing around frames to maintain the shed’s weather resistance.
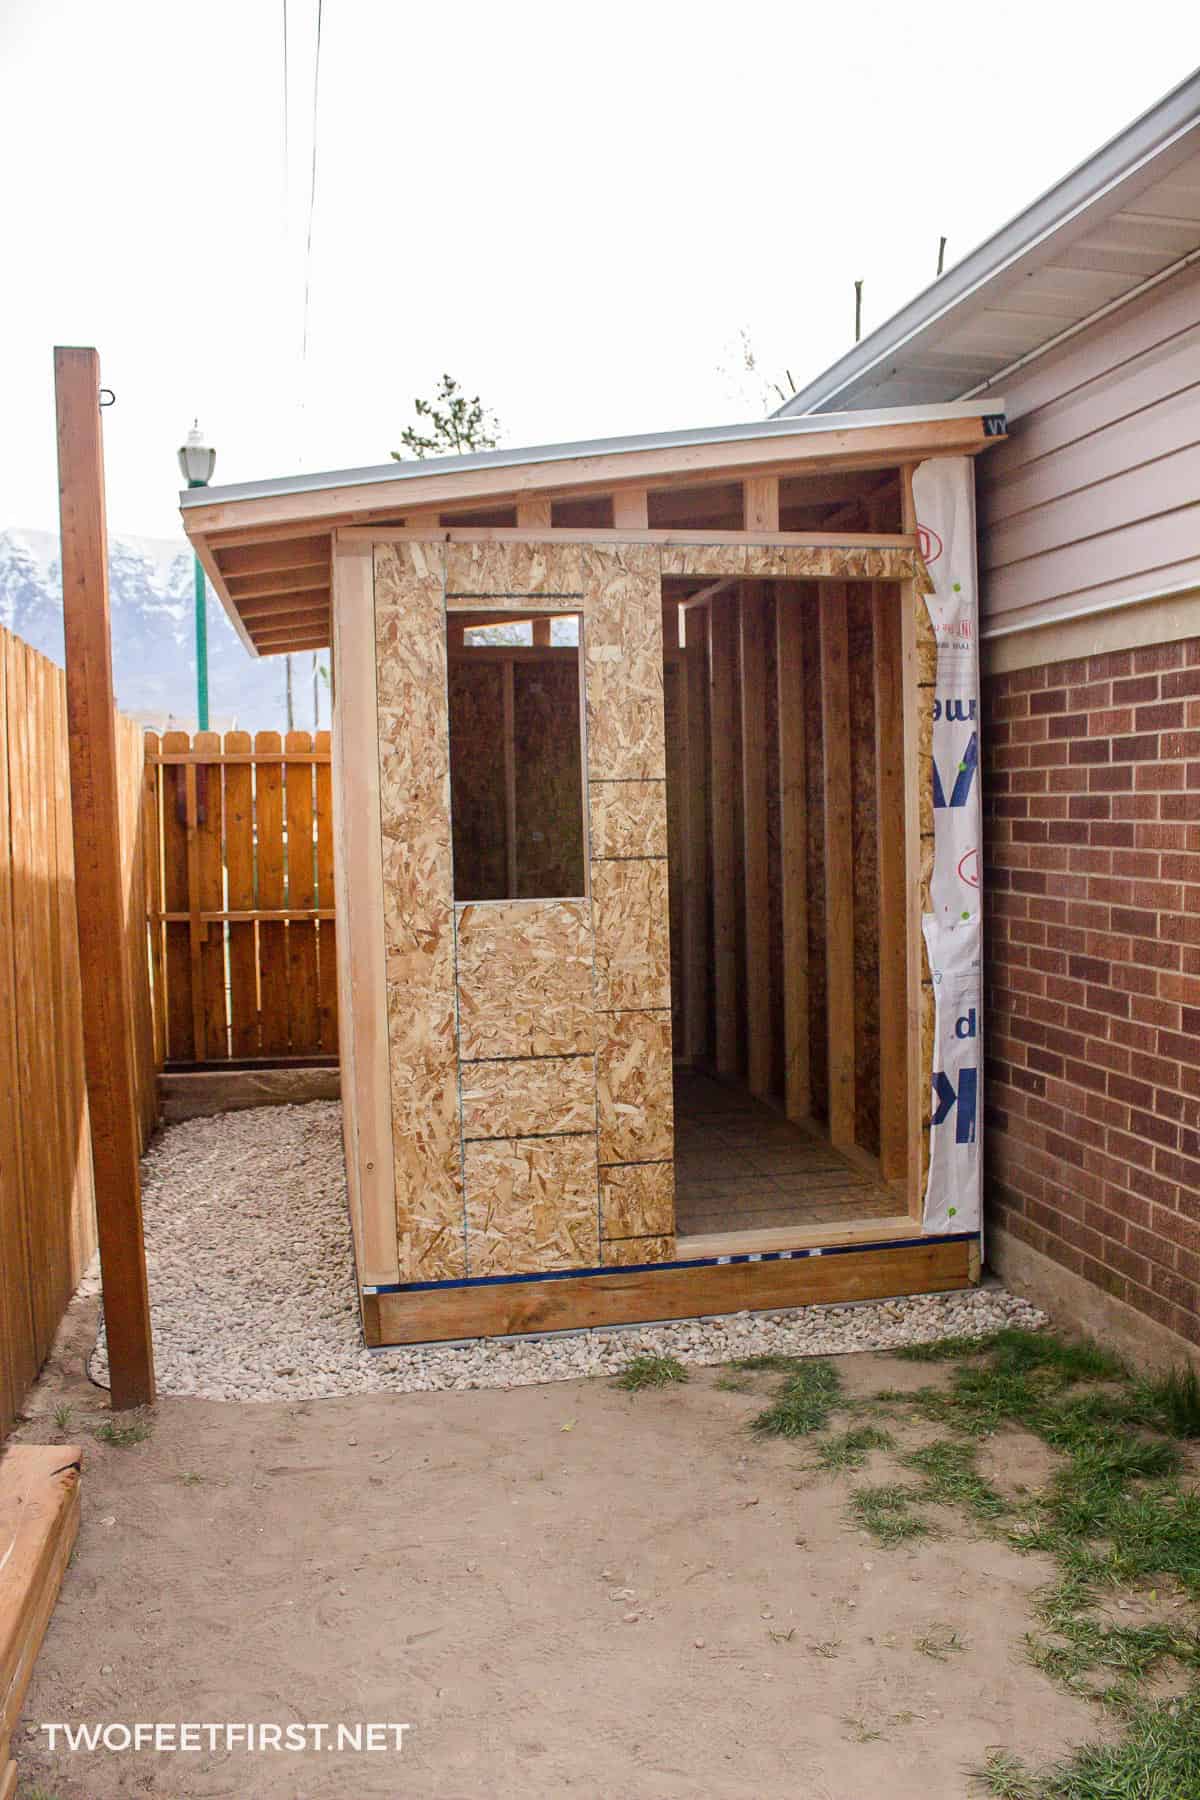
5.2 Siding (Optional)
Consider adding siding for added protection and aesthetic appeal. A variety of siding materials are available, each with its own advantages and disadvantages.
5.3 Final Inspections and Clean-up
Conduct a thorough inspection to ensure all components are securely fastened and the shed is watertight. Clean up any debris and dispose of waste materials responsibly.
Phase 6: Safety Considerations
Throughout the construction process, prioritize safety:
- Wear appropriate safety gear, including safety glasses, work gloves, and sturdy footwear.
- Use caution when operating power tools, following all manufacturer’s instructions.
- Work with a partner for tasks requiring more than one person to handle heavier materials or maintain stability.
- Maintain a clean and organized work area to prevent accidents.
- Be aware of potential hazards such as uneven ground, sharp objects, and falling materials.
Building a lean-to shed is a rewarding project that can significantly enhance your property. By carefully following these steps, paying attention to detail, and prioritizing safety, even beginners can achieve a successful outcome. Remember to adapt the plans to your specific needs and local regulations, and always consult with professionals if you encounter any difficulties or are unsure about any aspect of the construction process.