


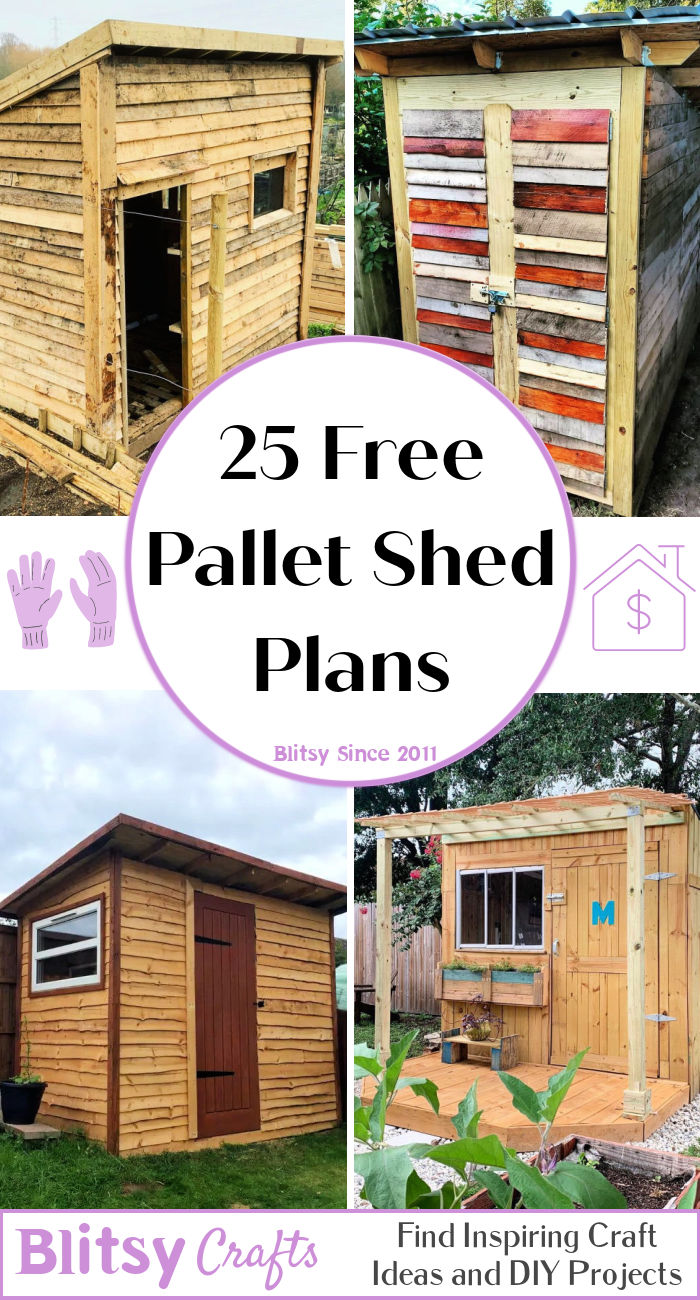
DIY Wood Pallet Shed: Simple Plans for an Effective Storage Shed
Tired of clutter piling up in your garage or backyard? Dreaming of a dedicated storage space without breaking the bank? Building a shed from reclaimed wood pallets offers a surprisingly simple and affordable solution. This guide provides detailed plans to help you construct your own effective and attractive storage shed, transforming wasted space into valuable organization.
Planning Your Pallet Shed Project
Before you grab a hammer, careful planning ensures a smooth build. First, assess your needs. How much storage space do you require? What will you store inside? Consider dimensions that comfortably accommodate your items, factoring in convenient access. Next, source your pallets. Check local businesses, construction sites, or online marketplaces for free or inexpensive pallets. Inspect them for damage and ensure they're treated for outdoor use (look for an HT stamp). Remember, you'll need a significant quantity, depending on your desired shed size. Finally, sketch a basic design. A simple rectangular design is ideal for beginners. Include details like door placement, window placement (optional), and roof style. A simple gable roof is both functional and relatively straightforward to construct.
Gathering Your Materials and Tools
Building your pallet shed requires more than just pallets. You'll need additional materials for reinforcement and structural integrity. This includes:
- Strong screws and a drill/driver: Opt for exterior-grade screws designed for wood.
- Post anchors or concrete footings: Securely affixing your shed to the ground is crucial for stability.
- Pressure-treated lumber (optional): Use for the foundation and structural supports to enhance durability.
- Plywood or OSB (Oriented Strand Board): Add sheathing to create a solid wall structure between the pallets.
- Roofing material: Asphalt shingles, metal roofing, or even salvaged materials are viable options.
- Exterior-grade paint or sealant (optional): Protecting your shed from the elements will extend its lifespan.
- Hinges, latch, and handle for the door: Essential for security and easy access.
In addition to materials, gather your tools: measuring tape, saw (circular saw recommended), hammer, level, safety glasses, work gloves, and possibly a nail gun for faster sheathing installation.
Building the Pallet Shed: Step-by-Step Guide
Constructing the Foundation
Begin by preparing a level base. You can use a concrete slab, compacted gravel, or a frame made from pressure-treated lumber. Securely attach your chosen foundation material to the ground using post anchors or concrete footings. This step establishes a stable base for your entire structure. Ensure your foundation is level to prevent issues with the walls.
Assembling the Walls
Carefully arrange and secure your pallets to create the walls. You may need to dismantle some pallets to achieve the desired height and fit them together snugly. Consider using plywood or OSB sheathing between the pallet gaps to create a more solid and weather-resistant wall. Fasten everything securely with screws, ensuring the walls are square and plumb. Remember to leave an opening for your door.
Constructing the Roof
The roof structure depends on your design. A simple gable roof is the easiest. Create the roof trusses using pressure-treated lumber and securely attach them to the top of the walls. Once the frame is complete, install your chosen roofing material. This ensures effective protection from the elements and adds to the aesthetic appeal of your shed.
Adding the Door and Finishing Touches
Install your door using hinges and secure it with a latch and handle. Add any optional features such as windows for ventilation and additional light. Apply a sealant or paint to protect the wood from moisture and enhance the appearance of your finished shed. Now you have a functional and aesthetically pleasing storage solution built entirely from recycled materials!
Remember: Safety is paramount. Always wear appropriate safety gear, and take your time to ensure each step is completed correctly. Building a pallet shed is a rewarding DIY project that can significantly improve your outdoor storage and organization. Enjoy the process!


No comments:
Post a Comment
Note: Only a member of this blog may post a comment.