


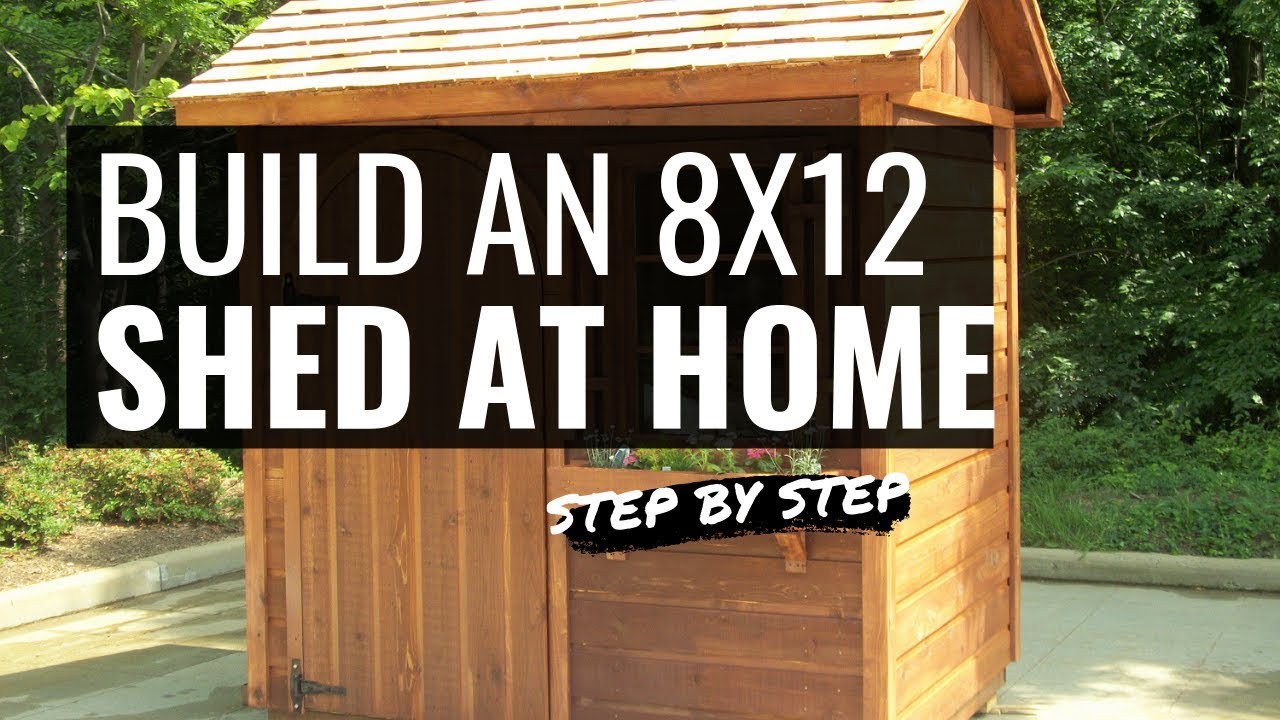
DIY 8x12 Shed with Loft: Build the Perfect Backyard Storage Shed
Constructing a backyard shed offers a practical solution for organizing outdoor equipment, tools, and seasonal items. An 8x12 shed, particularly one incorporating a loft, provides ample storage space within a manageable footprint. This comprehensive guide details the process of building your own 8x12 shed with loft, emphasizing meticulous planning, precision execution, and adherence to safety regulations. Embarking on this project requires dedication, patience, and a willingness to learn, but the reward of a custom-built, functional shed is well worth the effort.
Phase 1: Planning and Preparation
Before commencing construction, meticulous planning is paramount to ensure a successful outcome. This phase involves several critical steps that lay the groundwork for the entire project.
Site Selection and Preparation
Selecting the ideal location for your shed is crucial. Consider factors such as accessibility, proximity to power sources (if needed for future electrical installations), sunlight exposure, and drainage. Ensure the chosen site is level and free from obstructions. Prepare the ground by removing any vegetation, rocks, and debris. You may need to excavate and level the area to create a stable foundation.
Permitting and Regulations
Check with your local authorities regarding building permits and regulations. Shed construction often requires permits, especially if exceeding specific size limitations or involving electrical work. Understanding local codes ensures compliance and avoids potential legal issues later.
Material Selection and Procurement
The choice of materials significantly impacts the shed's durability and longevity. Pressure-treated lumber is recommended for its resistance to rot and insect infestation. Consider using composite materials for siding and roofing for lower maintenance. Compile a comprehensive list of all necessary materials, including:
- Pressure-treated lumber for the frame and floor
- Siding materials (wood, vinyl, metal, or composite)
- Roofing materials (shingles, metal, or other suitable options)
- Fasteners (nails, screws, bolts)
- Concrete or other foundation materials
- Loft framing lumber
- Loft flooring materials
- Door and window hardware
- Paint or sealant
Obtain accurate measurements and procure all materials before starting construction to avoid delays.
Phase 2: Foundation Construction
A solid foundation is the cornerstone of a stable and long-lasting shed. Several options exist, each with its own advantages and disadvantages.
Concrete Slab Foundation
This offers exceptional durability and stability, particularly in areas prone to frost heaves. It requires professional pouring or careful DIY execution, including proper grading and formwork. Ensure the slab is level and adequately reinforced.
Gravel Base Foundation
A more economical option, a gravel base involves compacting a layer of gravel to create a level surface. This is suitable for sheds in well-drained areas. Consider using a weed barrier fabric beneath the gravel to prevent weed growth.
Pier and Beam Foundation
This involves setting concrete piers or blocks at intervals to support the shed's frame. It is suitable for uneven terrain and provides good ventilation beneath the structure. Ensure proper spacing and leveling of the piers.
Phase 3: Frame Construction
Once the foundation is complete, the frame construction commences. This involves assembling the shed's skeletal structure, ensuring precise measurements and squareness.
Floor Framing
Construct the floor frame using pressure-treated lumber, ensuring it is level and securely attached to the foundation. Use joists and supporting beams to provide adequate strength and prevent sagging. Consider using plywood or OSB for the floor decking.
Wall Framing
Erect the wall frames using pre-cut lumber or by cutting and assembling on-site. Ensure the walls are plumb and square, using a level and framing square for accuracy. Install door and window openings according to your plan.
Roof Framing
Construct the roof frame, choosing between a gable or shed roof style. A gable roof offers better water runoff, while a shed roof is simpler to build. Ensure proper rafter spacing and support to ensure structural integrity.
Loft Framing
Integrate the loft framing into the overall structure. This typically involves installing supporting beams and joists within the shed's interior to create a platform for the loft floor. Ensure adequate headroom and consider the weight capacity of the loft when designing the framing.
Phase 4: Sheathing and Exterior Finish
After completing the framing, the exterior sheathing and finish are installed, providing protection from the elements and enhancing the shed's aesthetic appeal.
Sheathing
Apply exterior-grade sheathing (plywood or OSB) to the walls and roof, ensuring proper overlap and fastening. This provides a solid base for the siding and roofing.
Siding Installation
Install the chosen siding material, following the manufacturer's instructions. Ensure proper alignment and fastening for a weathertight seal.
Roofing Installation
Install the roofing material, starting from the bottom and working your way up. Ensure proper overlap and sealing to prevent leaks. Consider adding underlayment for added protection.
Door and Window Installation
Install the doors and windows, ensuring proper fit and weather sealing. Use appropriate hardware and ensure functionality.
Phase 5: Interior Finishing and Loft Construction
This final phase involves completing the interior finishes and building the loft.
Interior Wall Finishing
Finish the interior walls with drywall, paneling, or other chosen material. This can be left unfinished for a more rustic look, or finished to match your preference.
Loft Floor Construction
Install the loft floor, using plywood or other suitable material. Ensure it is securely attached to the supporting beams and joists. Consider adding railings or safety features for access to the loft.
Loft Access
Construct a safe and convenient access to the loft. This could be a fixed ladder, a pull-down ladder, or a staircase, depending on your design and preference.
Painting and Sealing
Apply a coat of paint or sealant to protect the exterior and interior surfaces from moisture and weathering. This adds to the longevity of your shed.
Building an 8x12 shed with a loft is a substantial project, but with careful planning, meticulous execution, and attention to detail, the result will be a functional and attractive addition to your backyard. Remember to prioritize safety throughout the construction process and consult professional assistance when needed.


No comments:
Post a Comment
Note: Only a member of this blog may post a comment.